 |
Home | Troubleshooting | How To | Windows Vista | Case Studies | Articles | Forums | Services | Donations | Careers | About Us | Contact Us| |
|
How to create community in Cisco Network Assistant 1. Run Cisco Network Assistant and click Connect.
2. Select Create community and click Connect.
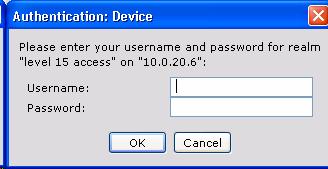
3. You have many options to create a community. In our case, we select devices using a seed IP address to discover all other devises.  4. If Authentication: Devices screen displays, type the Cisco Enable password. If all devices are using the same enable password, you just type the password once.
5. Click Start to find all devices and OK to display the Topology View.
|
|

This web is provided "AS IS" with no
warranties.
Copyright © 2002-2007
ChicagoTech.net,
All rights reserved. Unauthorized reproduction forbidden.