 |
Home | Net Issues | Net How To | Wireless | Case Studies | Articles | Forums | Services | Donations | Careers | About Us | Contact Us| |
|
How to configure interface in Cisco WLC
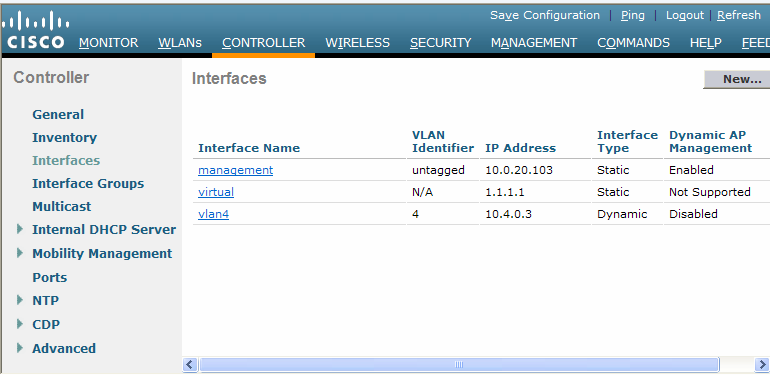
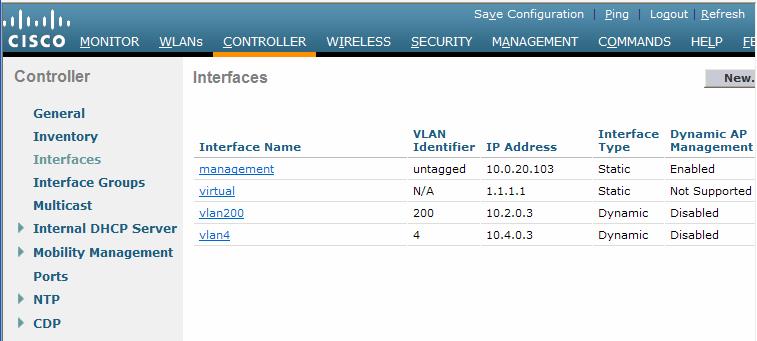
1. Login Cisco WLC. 2. Click Controller. 3. Click Interface in the left pane. 4. Click New.
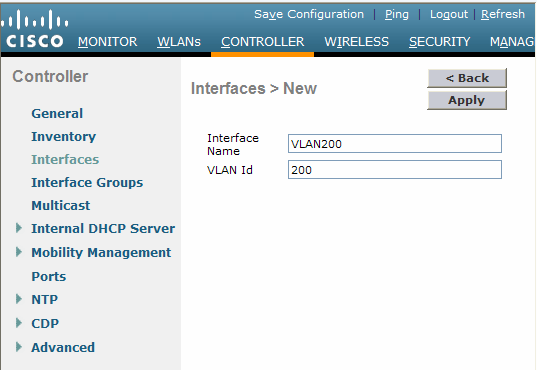
5. Enter the Interface Name and VLAN Id.. 6. Click Apply to save the settings.
7. Enter the Port Number, IP address, Netmask, Gateway, DHCP. 8. Click Apply to save the settings. 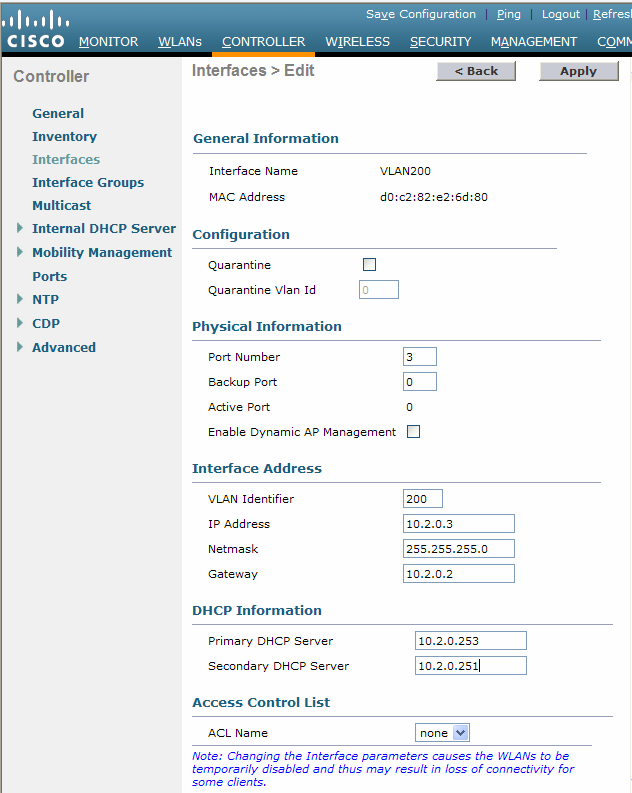
9. Click the Interface you just created.
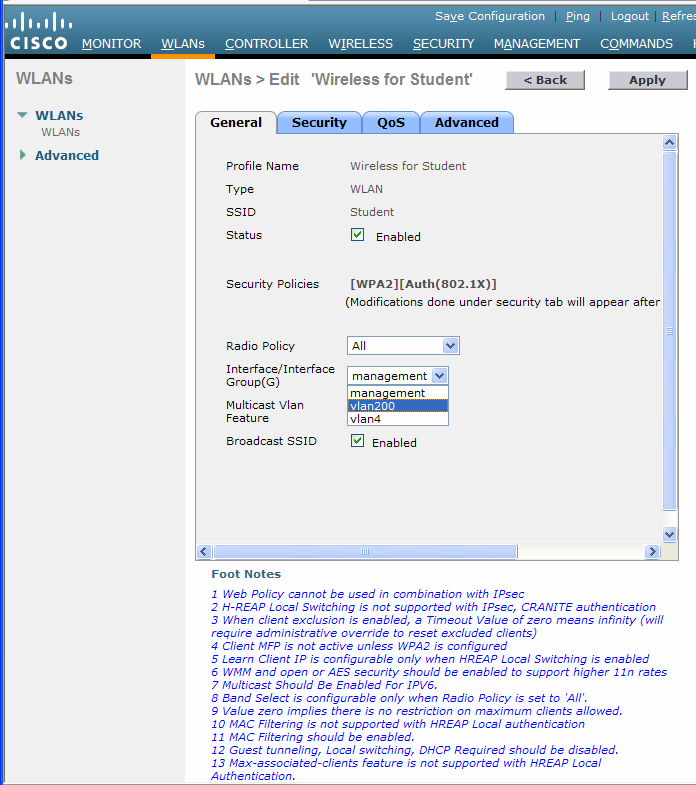
10. In the General of the WLAN you just created, check Enable in Status and in the Interface/Interface Group(G), select the interface. 11. Click Apply.
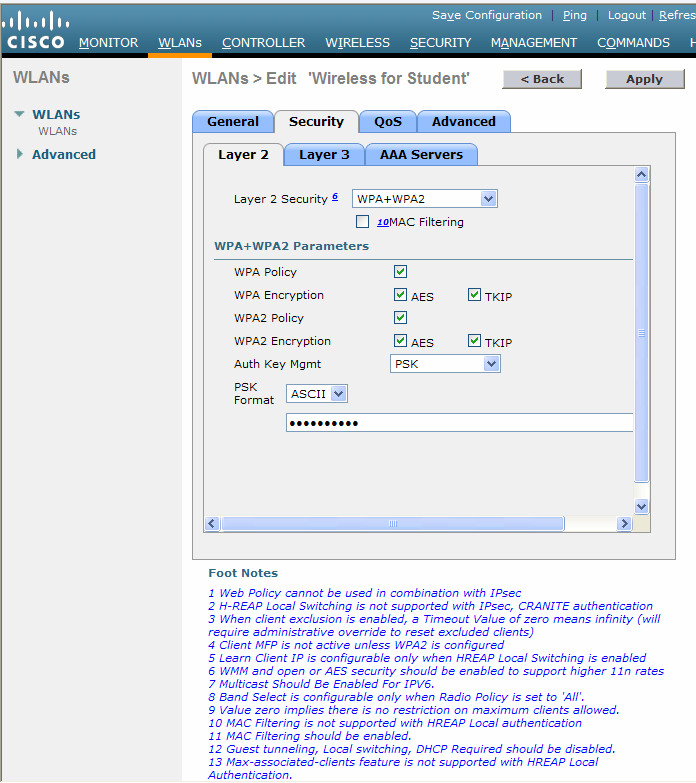
12. Click Security, setup security and click Apply.
Post your questions, comments, feedbacks and suggestions /a> Related Topics |
|
|
|
This web is provided "AS IS" with no
warranties.
Copyright © 2002-2007
ChicagoTech.net,
All rights reserved. Unauthorized reproduction forbidden.