 |
Home | Net Issues | Net How To | Wireless | Case Studies | Articles | Forums | Services | Donations | Careers | About Us | Contact Us| |
|
Configure Access Control Lists on Cisco WLC
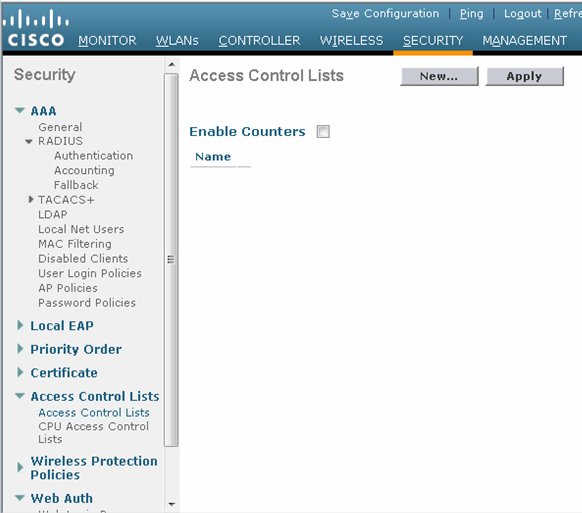
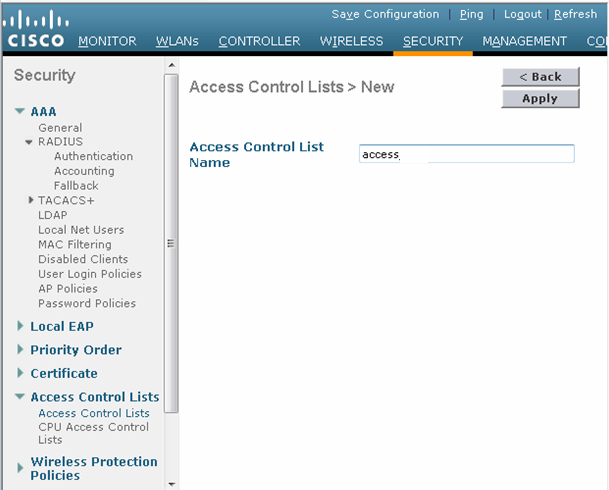
1. Login Cisco WLC. 2. Click Security>Access Control Lists. 3. Click News.
4. Enter Access Control List Name.
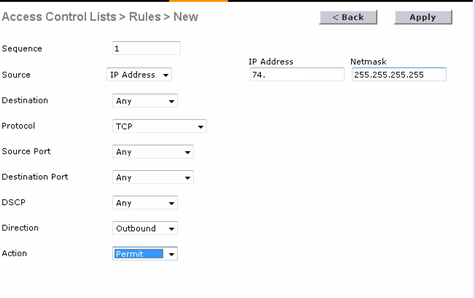
5. After the Edit page, click Add New Rule.
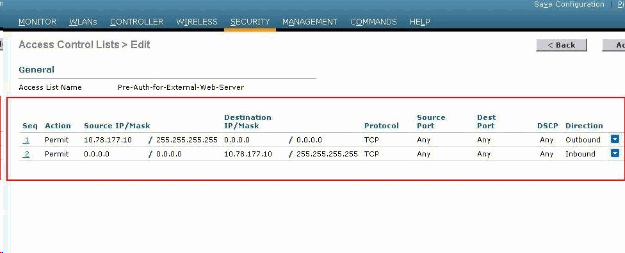
6. Create the first rule permitting Outbound traffic with Source IP address.
7. Then create second rule permitting Inbound traffic with Destination IP address. We have two rules as shown below.
 Post your questions, comments, feedbacks and suggestions /a> Related Topics |
|

|
|
This web is provided "AS IS" with no
warranties.
Copyright © 2002-2007
ChicagoTech.net,
All rights reserved. Unauthorized reproduction forbidden.